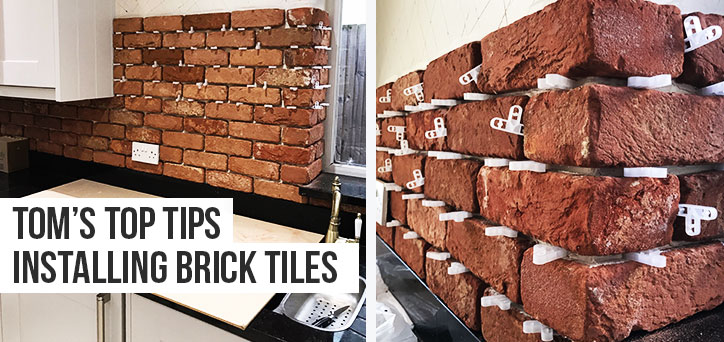
Welcome again to Tom’s Top Tips, the must go to blog for all those people looking into the world of Installing Brick Tiles.
Tom will be answering those questions that you might need the answers too.
This month we will be focusing on your questions regarding installing brick tiles.
What tools do I need to install your brick tiles?
- Preparation for a trouble free installation always starts with the tools. Assuming that you are a budding DIY enthusiast and you are starting from scratch here is a definitive list of tools which you will need.
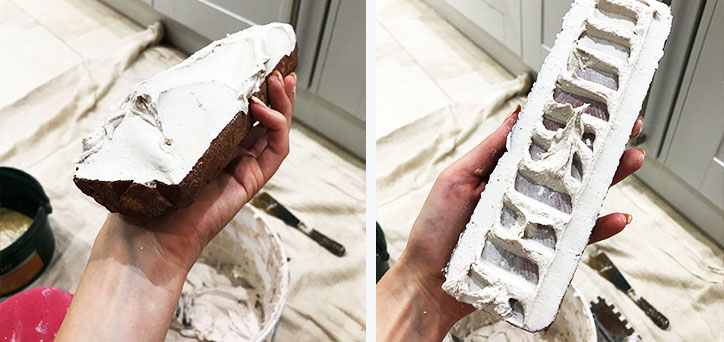
- A notched adhesive spreader is a must, this will allow you to apply the adhesive to the wall at the right consistency and bed depth.
- A Mixing bucket is required for mixing your adhesive and grout, one should suffice and a good wash in between will ensure no contamination.
- Brick Tile Spacers are a MUST! If you want an even straight wall that looks like it has been installed by a professional then please do not forget spacers.
- If you want to make sure your pointing looks top notch then a Mortar Pointing Gun will make the process hassle free,
- A Brick Jointer is a finishing tool that gives a smooth and flush finish to your pointing work and is a cheap tool to have at you disposal.
- Dont forget a Wire Brush, this will help with the clean up and final finish.
Do i need to do anything to the surface before installing brick tiles?
Brick tiles can be adhered to various different substrates. It is important that the surface you are sticking them too can take the weight of a minimum 30kg m2.
Best practice would be to first check the substrate for any loose debris and remove this with a wire brush. This is very common with existing brickwork and block work, especially when the original surface had either render or plaster present.
Using a PVA primer, apply generously using a brush. Some surfaces may require more than one coat to be adequately sealed. Allow to dry before commencing with your brick tile installation.
Where do I start my wall?
This one you will need to get right! Where you start can make the difference between a good project and a great project.
Starting at the bottom of the wall, mark a level line from one side to the other. This will be your datum to work up from.
It is vitally important that you work from the bottom upwards. As the courses below set they will support for the structure being laid above.
How easy are the brick tiles to cut?
Our brick tiles can be cut with any style tile cutter. The depth of each tile is 20mm so as long as the cutter can take that depth then you will be fine. Clay although strong is fairly easy to cut without too much effort.
TOP TIP: Never throw broken tiles away as they may come in useful when you are at the cutting stage.

Test Tom
If you’re in doubt then please give Tom a shout, and send him your questions.
Also, be sure to check back in here for future additions to our popular “Tom’s Top Tips” column.


Recent Comments